Hardwood floors add beauty, charm, and warmth to your home but, besides their aesthetic value, one of their best attributes is that they’re easy to clean. Most of the time, a quick vacuuming is all they need.
Every once in a while, though, especially if you have kids and pets, they require a deep cleaning.
I’m not talking about vacuuming for a little longer than usual or wiping them down with your Swiffer. I’m talking about rolling up your sleeves and getting rid of the stains and grime that have built up over several months.
So how exactly do you deep clean hardwood floors?
It’s actually pretty easy; here are the basic steps:
- Step 1: Pick up loose dirt and dust with a vacuum, microfiber mop, or broom with split tips.
- Step 2: Determine whether your floors are protected with a surface or penetrating finish.
- Step 3: Pick a hardwood floor cleaner specially designed for your floor finish.
- Step 4: Spray the cleaner on the floors and mop in the direction of the floorboards.
- Step 5: Remove deep stains, grease, and scuff marks.
Although the process is quite simple, there are important details to know about each step to maximize your efforts and, more importantly, avoid damaging your floors.
Step 1: Pick Up Loose Dirt and Dust
The first and easiest step in the process is to remove loose dirt and dust from your floors. The best tool for this step is a vacuum with a floor attachment that has soft bristles.
Avoid using a vacuum with an aggressive beater bar with hard bristles. A beater bar is a cylinder-shaped bar within the vacuum head that spins rapidly to lift dirt embedded deep in high-pile carpets. Large upright-style vacuums designed for carpets typically have ultra-aggressive beater bars, and most of them will scratch hardwood floors unless the vacuum head is designed specifically for hard surfaces.

Step 2: Identify Your Floor Finish
Now that you’ve cleared out the loose dirt and dust, it’s time to determine the type of finish on your floors. This step is vital because floor cleaning products are designed for particular finishes, and using the wrong product could lead to severe, and in some cases irreversible, damage.
Step 3: Pick the Right Hardwood Floor Cleaner
Now that you’ve identified your floor finish, the next step is to choose the appropriate hardwood floor cleaner.
Floors Protected By Surface Finishes
Surface finishes don’t allow water to penetrate, so it’s safe to use most water-based cleaning solutions.
Step 4: Mop in the Direction of the Floorboards
Now that you’ve removed the dust and dirt, identified the finish, and gathered the proper cleaning solutions, it’s time to get cleaning.
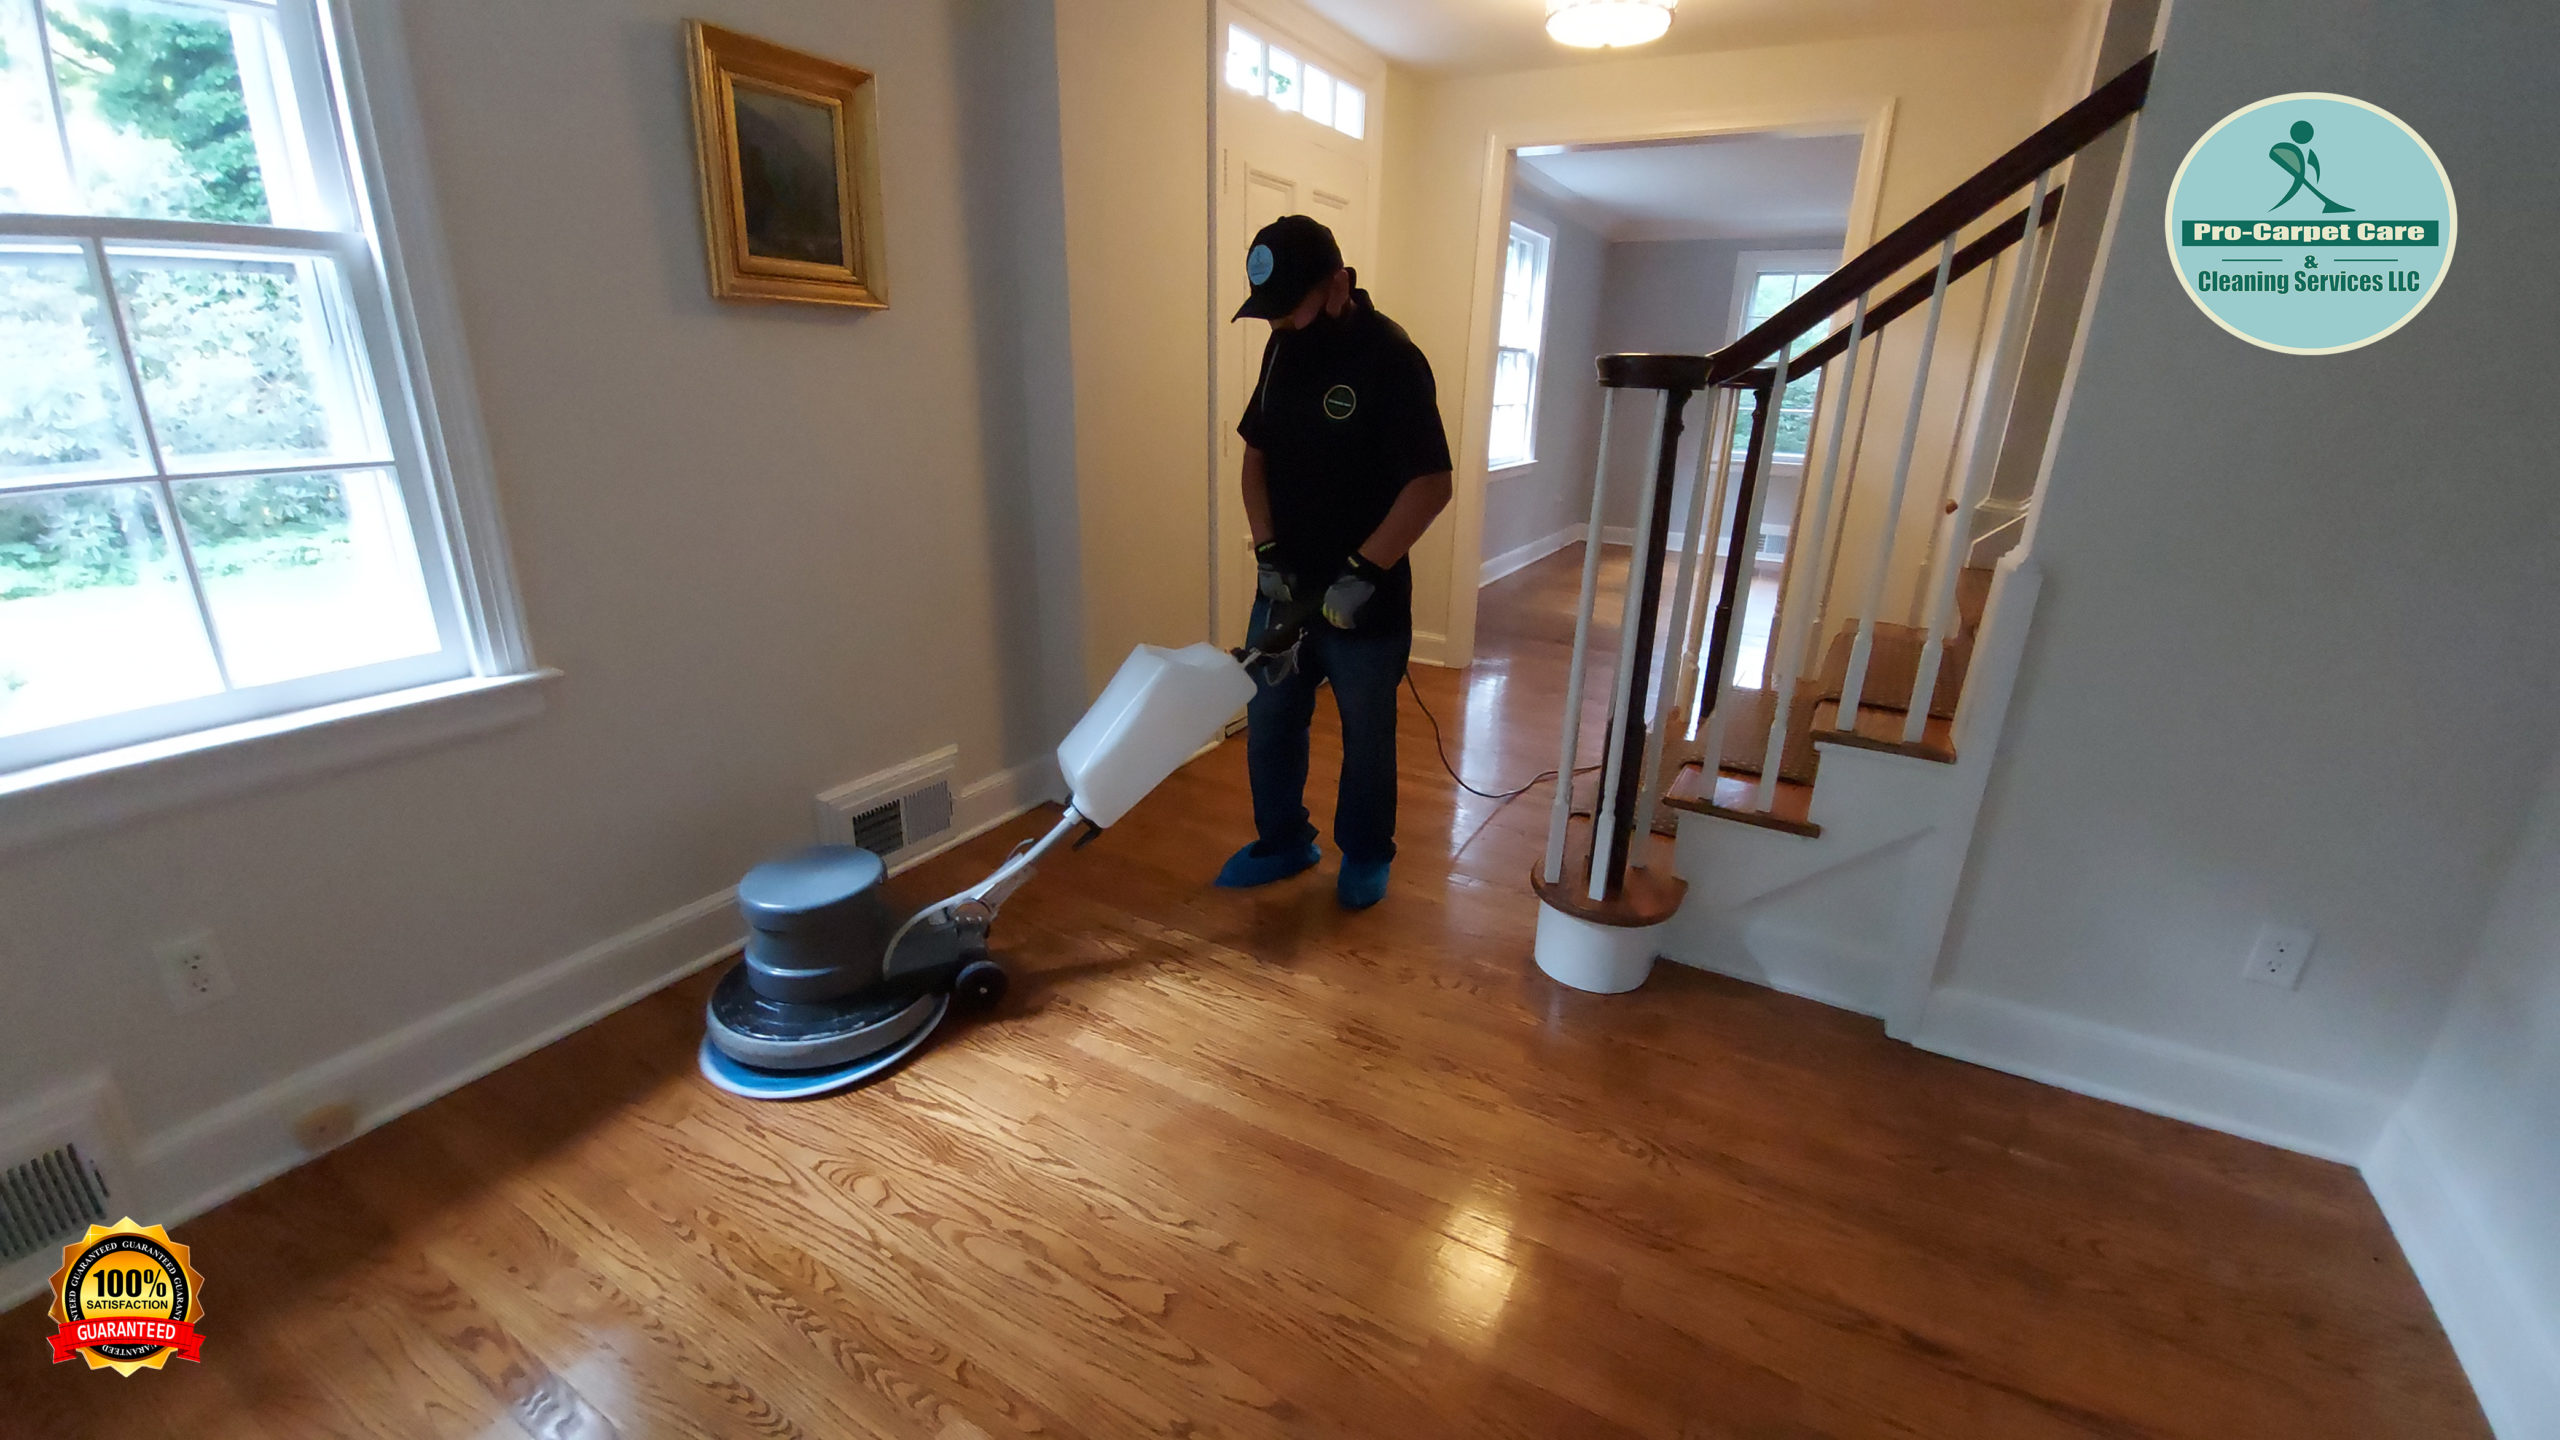
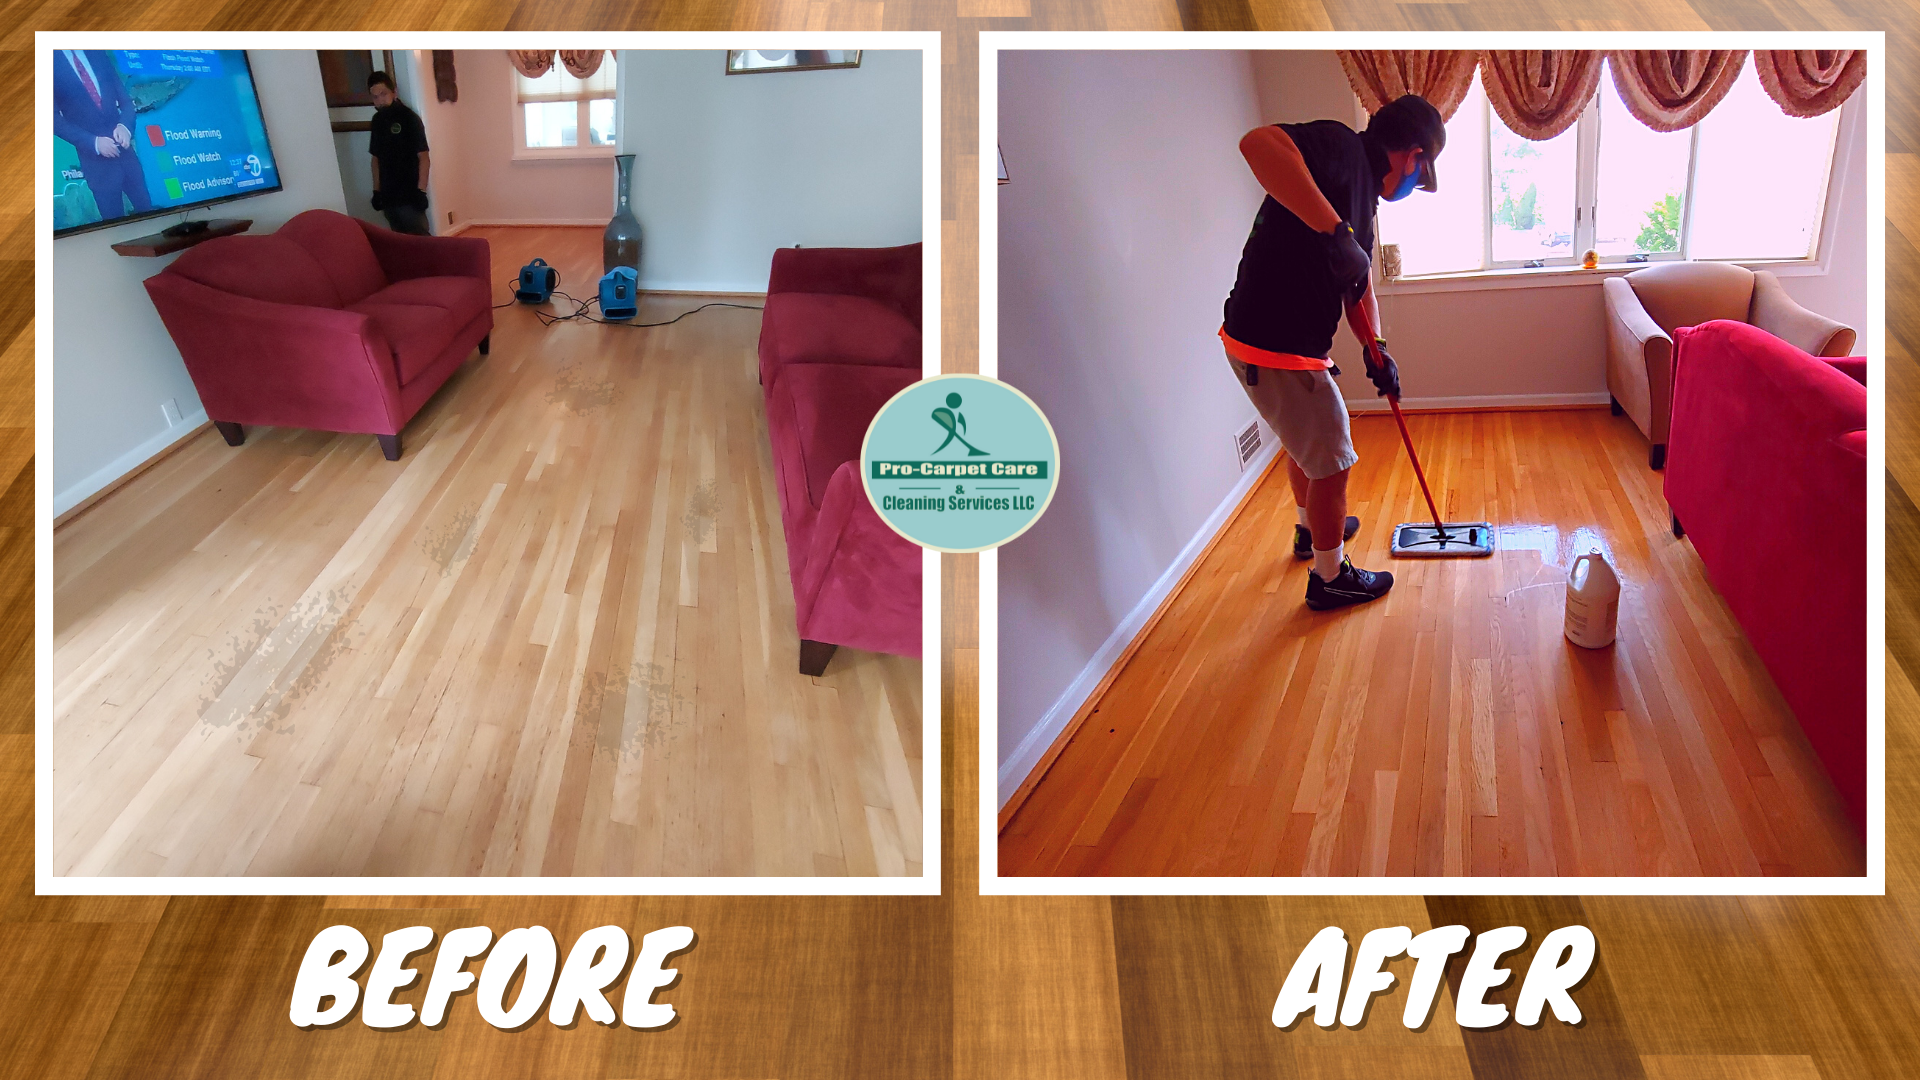
For surface-finished floors, spray the water-based hardwood floor cleaner of your choice on your floors and wipe it immediately with a microfiber cloth or floor mop with a microfiber cloth head. You do not need to mix the cleaner with water; the cleaner is designed to work on its own. Also, it comes in a spray bottle to limit the amount of moisture on your floors.
Step 5: Remove Deep Stains
The fifth, and final, step is to tackle those scuffs and stains that remain on your hardwoods after mopping.
Every stain is a little bit different, and so are techniques necessary to remove them. Here’s a list of the most common stains and tips on how to get rid of them quickly and safely.
Frequency: How Often Should You Deep Clean Hardwood Floors?
Keeping hardwood floors clean and beautiful isn’t a complicated process; you just need to stay on top of it. Here’s the cleaning and maintenance schedule that the National Wood Flooring Association recommends:
- Every Day: Remove dirt and dust by sweeping or dust mopping.
- Every Week: Vacuum using a wood floor attachment that won’t cause scratches.
- Every Month: Perform a deep cleaning. Mop with a floor cleaner designed for the finish on your particular floors and spot-treat stains.
- Every 3 to 5 Years: Add a fresh coat of finish. Applying a new coat of finish will restore the look and extend the life of your floors and is a much cheaper alternative to completely refinishing. Speaking of which…
- Every 30 Years: Completely sand down, re-stain, and refinish your floors. You only need to do this if your floors become extremely damaged or worn out from decades of abuse. The total cost will depend on where you live and the size of your home, but you can expect to pay between $1 and $5 per square foot.


